更多

关于我们 About Senzhong
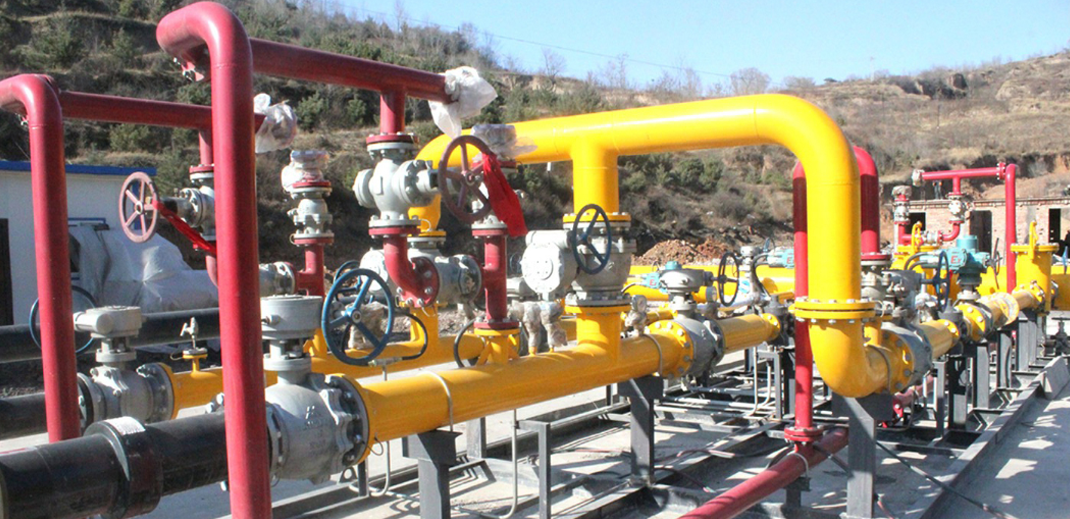
亚-搏手机版登入页面界面集团总部位于美丽的山城重庆市,注册资金6000万元。公司投资领域侧重于:天然气上游井口气LNG液化;中游高压长输管道投资建设运营;下游城市、乡镇管道燃气、工业园区、LNG/CNG加气站、矿区大中型企业点供站等项目的投资建设运营。
查看更多
- 项目
- 风采

-
林口储配站
-
林口县CNG加气站
-
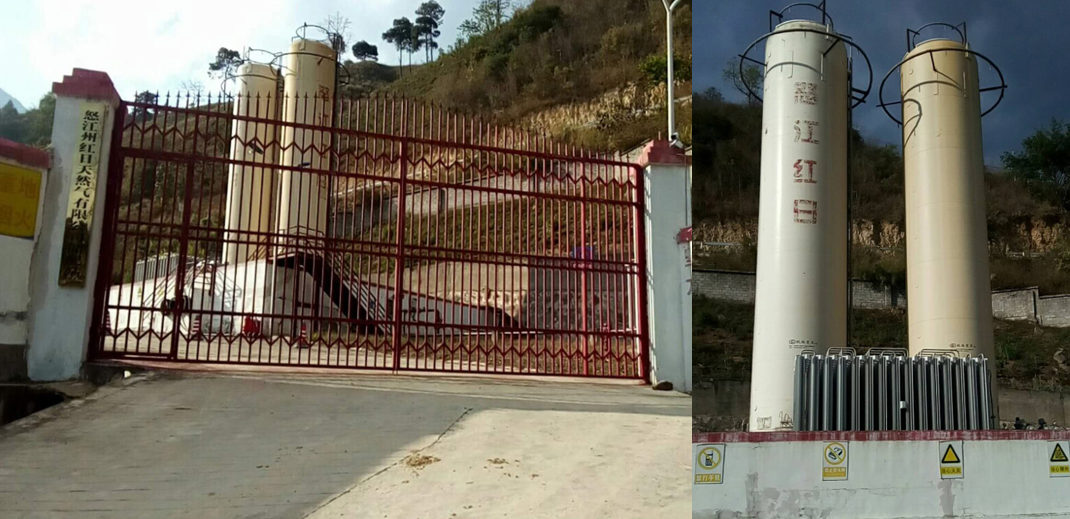
怒江红日天燃气储配站
-
新平昆仑莲花天燃气
-
和顺门站
-
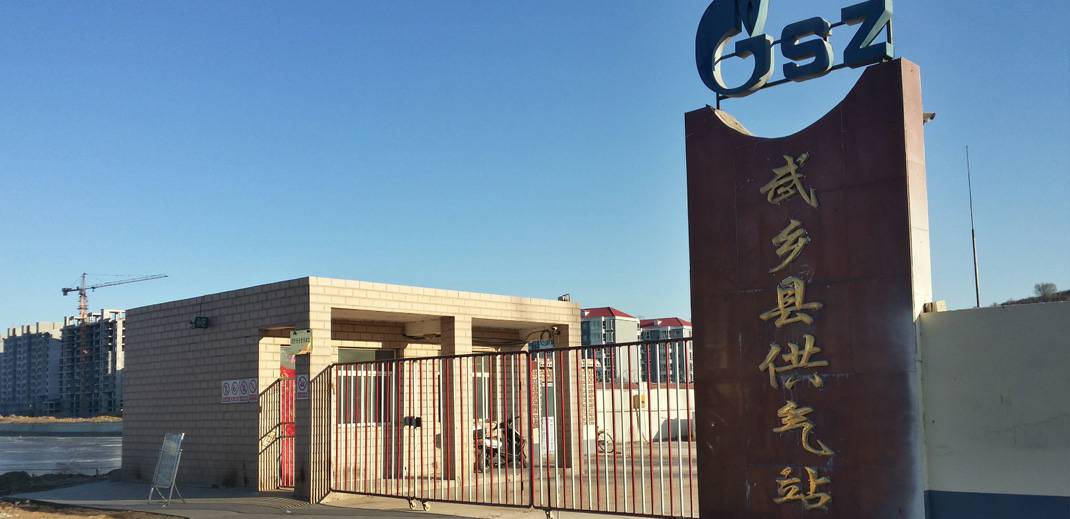
武乡供气站